How to Take Screenshots on Mac – Capture Your Macbook Screen

In this article, we have listed solutions for the most asked question i.e., how to take screenshots on Mac? Keep reading for more details.
For all the users who are new or who have recently switched to Mac, they may be facing issues with the laptop as the interface is a little difficult as compared to Windows. But worry you will find a solution for screenshots in Mac. Screenshots are very important whether you wish to keep them for projects or for memories, you cannot wait for other programs to open and take screenshots.
Screenshots can be taken by using the built-in command. All you need to do is press that combination of buttons and the laptop screen will be captured and stored in files. Every combination works for capturing the different types of screenshots. So without any further ado, let’s take a look at the methods or combination of keys that you can use to take screenshots.
Methods on How to Capture Screenshots on Mac
Here are some of the steps which you can use to take screenshots on Mac easily and find a solution for how to take screenshots on Mac.
1. How to Take Screenshots on Mac (Full Screen)
Firstly we will take a look at what combination will help you to take a screenshot of the full screen. take a look at the combination below.

- Press ‘Shift’, ‘Command’, and ‘3’ keys together.
- After this combination the screen will be captured, you can edit the screenshot by clicking the thumbnail on the corner of the screen.
- After you have completed editing, wait for the screenshot to save.
Also Read: 16 Best Mac Cleaner Apps to Clean and Optimize Your Mac (Free & Paid)
2. How to Take Screenshots on Mac (Portion of the Screen)
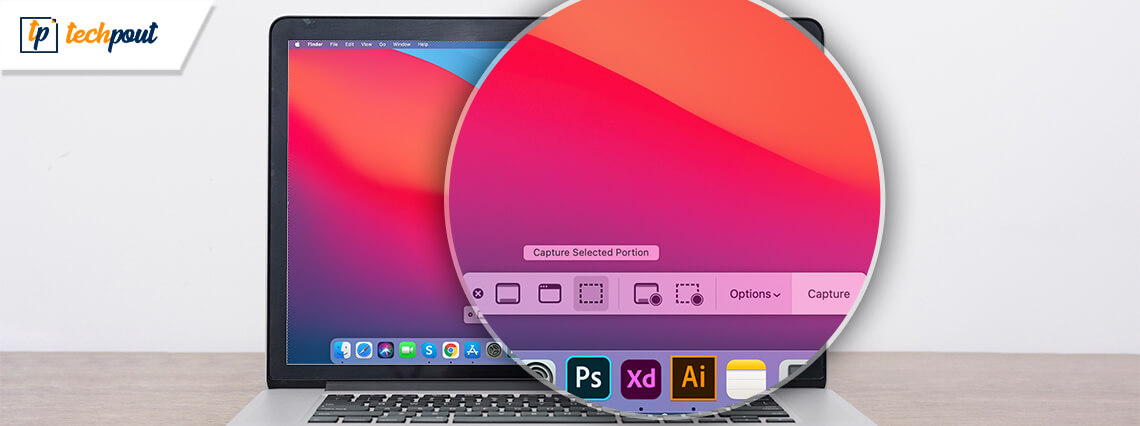
By following the steps mentioned below you can easily take screenshots of some portion of the screen. So for instance if you wish to capture a screen with a website interface and you don’t want to include the advertisement in the screenshot. In such cases, you can use this combination and capture only the required area of the screen.
Follow the steps mentioned below to take a screenshot.

- Press and hold ‘Shift’, ’Command’, and ‘4’ keys together.
- After you have pressed the combination, you get a cursor on the screen using which you can easily select the portion which you want to capture and leave.
- Press that cursor and press space while you drag or select the portion of the screen.
- If you want to cancel the selection press the Esc button.
- After you are done with selection release the cursor.
- Now from the thumbnail on the corner you can edit and save the screenshot to your desired location easily.
Also Read: 11 Best File Shredder Software For Mac in 2021
3. How to Take Screenshots on Mac (Window or Menu)
This is a very unique and amazing feature which a Mac user gets. Other than just capturing the screen it makes the cursor into a very satisfying camera that takes the screenshot. Using this method you can easily capture a specific window or a menu. Follow the steps mentioned below to know how?

- Open the Window or menu which you wish to capture using this method.
- Press and hold ‘Shift’, ‘Command’, ‘4’, and ‘Space’ bar.
- Now you will observe that the cursor has turned into a camera, this camera is the sign that wherever you will click the computer will capture it as a screenshot.
- If you wish to discard the screenshot then press the Esc key.
- Now click on the part of the screen which you want to capture.
- After you have captured the screenshot, you will witness a thumbnail on the corner of the screen using which you can edit and save the screenshot according to your preference.
These are the steps that you can use to take different types of screenshots with just a few combinations. If you have not saved the screenshot to your location and are having an issue finding it then let us help you with that too.
The screenshot is by default saved as screenshot [date] at [time].png. In macOS Mojave or later version, you can find the screenshots in the Options menu in the screenshot app.
Also Read: Top 10 Best Duplicate Photo Finder and Remover Apps for Mac in 2021
Conclusion: How to Take Screenshots on Mac
By following the article you must have got the idea of how to take screenshots on Mac. In this guide, you have witnessed various other methods of taking screenshots of specific portions and menus. We hope that you will find this article helpful in understanding. If you have any doubts or suggestions related to this article please write us down in the comment section below. For more information and guidance like this follow us on social media and subscribe to our newsletter and keep yourself updated with technological stuff.


